The well-planned wine room
Your Wine Cellar Is Finished. What Should Happen Before You Fill It?
Plan a useful wine-cellar handover: operating checks, bottle fit, owner training, equipment records and a clear route to service.
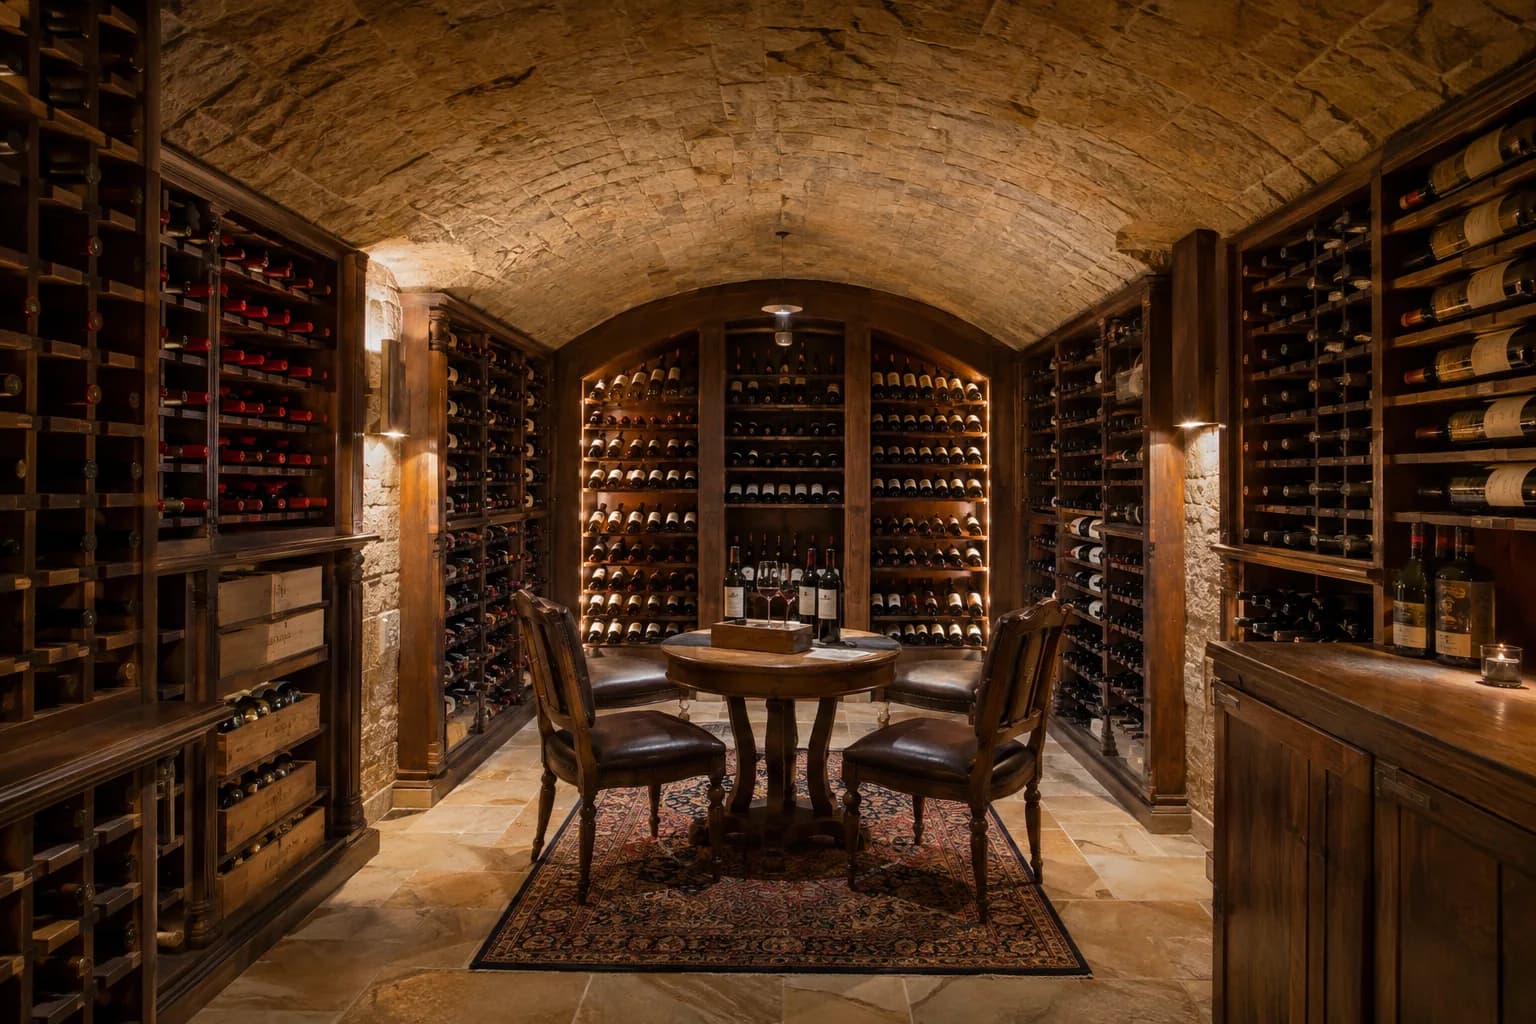
Start here
At a glance
Before moving your collection in, have the project team demonstrate the completed cellar, document its agreed startup checks and explain when it is ready for loading. Test the storage layout with representative bottles, learn the owner controls and collect the actual equipment manuals, warranty contacts and outstanding-item list. A finished appearance alone does not show that those steps are complete.
The room looks ready. Is it ready for your collection?
The lighting is on, the racks look beautiful and you're ready to bring the wine home. This is a good moment to slow down just enough to learn the room. Once bottles are in place, a hard-to-reach control or an awkward storage bay becomes your daily problem.
Arrange a handover appointment before the project team leaves. Ask the lead contractor and relevant specialists to show you the finished setup and explain the agreed readiness checks. You want to leave that meeting knowing how to use the cellar, what remains unfinished and who will help if something isn't right.
Ask for the startup record, not just a cold room
Have the responsible cooling professional explain the checks completed for the installed system and the conditions under which they were performed. Ask what results the project called for, whether those were achieved and whether anything still needs observation. A brief visit to a cool room isn't a substitute for that account.
Wine Guardian separates manuals, startup guides and warranty information by equipment family in its resource library. That distinction matters when assembling your handover pack: the documents should match the model actually installed, including any approved substitution. A brochure for the original proposal may no longer be the right reference.
Ask the professional when and how to load the collection under the project's operating plan. Don't invent a waiting period or change settings to accelerate the process. If the team hasn't agreed who confirms readiness, settle that responsibility before moving valuable bottles.
Try the storage with the bottles you really own
Bring representative empty bottles or agree on suitable samples with the builder. Include the shapes and larger formats that matter to your collection. Check that you can place and retrieve them in the intended positions without forcing them or leaning into an awkward reach.
Imagine the design promised space for unopened cases, but the final layout puts everyday bottles in front of that storage. You may still have enough nominal capacity while losing the convenience you bought. Walk through an ordinary delivery and an ordinary dinner selection with the designer, and identify any mismatch with the agreed layout.
Check the door swing, handles, lights and access around the storage together. Ask the builder to demonstrate any movable or special storage features. Leave installation, loading limits and adjustments to the relevant supplier's instructions rather than testing them by trial and error.
Learn the owner controls while someone can explain them
Ask for a demonstration of the controls you are expected to use and an explanation of the normal readings for your agreed setup. Have the specialist distinguish ordinary operation from a condition that warrants a call. Keep the explanation with the owner instructions so a partner or estate representative can find it too.
If alerts or remote access were included, have the installer demonstrate the agreed owner functions and confirm who receives messages. Ask what happens if the home connection is unavailable and whether any ongoing subscription or support arrangement is required. Don't assume a feature shown during a sales meeting has been configured for you.
Have the team show where routine service access is needed. Furniture or case storage placed in front of that access can turn a simple visit into a disruption. Ask for the care schedule and who performs each task; technical work belongs with the appropriate service professional.
Leave with one usable set of records
Collect the final equipment list, model and serial details, relevant manuals, agreed startup record, approved changes and service contacts. Include care information for the racks, glazing, doors and finishes as applicable. Store the records somewhere you can still access if the person managing construction moves on.
Ask who handles a symptom that could involve more than one trade. If you notice unexpected moisture, for example, you shouldn't have to decide whether cooling, the enclosure or another system is responsible before anyone will speak to you. Agree on the first contact and how the team coordinates further assessment.
Keep a separate list of outstanding work with a named person and agreed next step for each item. A missing shelf and an unresolved operating issue need different treatment. Have your project adviser explain any implications for use, acceptance or payment under your own agreement.
Put this appointment in the proposal
Handover works better when time for demonstrations, records and follow-up is part of the scope from the start. Ask bidders who will attend and what you will receive. Our construction checklist covers the wider sequence; this meeting is where that work becomes understandable to you as the owner.
Our vetted experts can help you clarify those expectations with the right providers. Tell us whether you're comparing builders or nearing completion, and which part of taking over the cellar still feels uncertain.
Sources & editorial notes
Prepared by Cellar Builder Guide editorial team. Updated September, 2026.
Prepared independently by the editorial team.
- Resources and Owner Manuals, Wine Guardian (accessed 2026-09-24)